
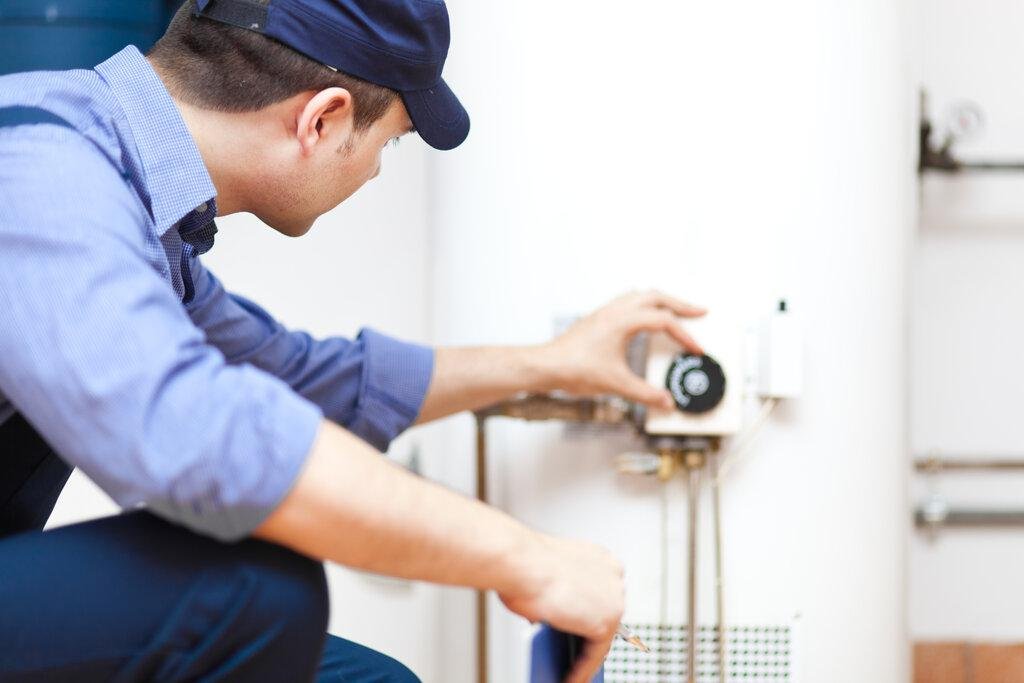
Water heaters often work quietly in a closet or garage, so small changes can be easy to miss until a cold shower or a wet floor forces urgent action. Catching early signs, understanding what they usually mean, and knowing which checks are safe to try can prevent a midnight breakdown. This article focuses on tank-style and tankless residential units, using plain-language diagnostics grounded in how components like the anode rod, dip tube, thermostats, and safety valves actually behave. The goal is simple: help homeowners interpret symptoms accurately so they can decide when a quick fix is possible and when a licensed plumber should step in.
- Early Signs Your Water Heater Is Struggling
Listen for new sounds first. A rumbling or popping noise often points to sediment baking on the bottom of a tank, trapping steam under mineral layers. Short swings between hot and cold water at the tap suggest a failing thermostat, a burned-out heating element in an electric model, or a gas burner that is cycling irregularly. Rust-tinted or sandy water indicates corrosion or loose scale inside the tank, while a sulfur smell may point to an anode reaction with naturally occurring sulfates. A pilot light that will not stay lit, a breaker that trips repeatedly, or a T&P relief valve discharge pipe that drips are all safety red flags.
If you are trying to decide whether a symptom warrants a call or a simple adjustment, resources like Water Heater Repair in Tulsa, OK explain common service steps, but start by matching what you see to likely causes. For example, a morning shower that starts hot then goes lukewarm may be a cracked dip tube mixing cold water into the outlet stream. By contrast, a tank that heats but runs out of hot water quickly could point to a failed upper heating element on an electric unit, leaving only part of the tank at temperature.
- What Those Symptoms Often Mean
Rumbling or popping usually ties back to sediment. Minerals settle on the tank floor and around the gas burner or electric lower element, forcing the heater to run longer and hotter to reach setpoint. That overwork accelerates wear on elements and can stress the glass-lined steel tank. Cloudy water or debris at the faucet often accompanies this buildup, and you may notice the drain valve clogging when you try to flush the tank.
Lukewarm output despite a normal thermostat setting frequently traces to a broken dip tube, especially on older tanks. The dip tube carries incoming cold water to the bottom; when it fractures, cold water spills near the outlet, diluting the hot water at the top. Rusty water suggests corrosion from a depleted anode rod. Once the anode can no longer sacrifice itself, the steel tank becomes the next target. On gas units, a pilot that will not stay lit often points to a faulty thermocouple or a dirty burner assembly. A T&P valve that spits or constantly drips may be responding to scalding temperatures or thermal expansion in a closed system without an expansion tank.
- Safe Checks You Can Do Before Calling a Pro
Start with power and settings. On electric units, verify the breaker is on; on gas units, confirm the gas control is in the On position, and the thermostat is set near 120 degrees Fahrenheit. Test hot water at the nearest faucet to the heater to rule out mixing valve or recirculation quirks farther down the plumbing. If the water is scalding, turn the thermostat down and retest in a few hours; this can also curb excessive T&P activity.
Next, look and listen without opening panels. Inspect the dielectric unions, drain valve, and tank seams for moisture. Check the T&P discharge pipe for active dripping. If the tank isn’t dangerously hot, connect a garden hose to the drain valve and draw off a gallon into a clear bucket to check for sediment. Do not remove combustion covers, bypass safety switches, or relight a pilot if you smell gas. For tankless units, confirm adequate flow by cleaning faucet aerators and checking inlet screens; low flow can prevent ignition altogether.
- When Repair Makes Sense and When Replacement Saves Money
Many problems are repairable, especially on younger equipment. Replacing a failed heating element or thermostat on an electric model, cleaning a gas burner and replacing a thermocouple, or installing a new dip tube can restore performance at a reasonable cost. A fresh anode rod can slow corrosion if the tank is still sound. If leaks come from fittings or the drain valve, a new washer or resealed threads might fix them.
Replacement becomes the smarter long-term choice when the tank itself is leaking, multiple components have failed in short succession, or the unit is approaching the typical 8- to 12-year lifespan for tank-style heaters. Recurrent sediment damage often returns after one-time fixes if water conditions are mineral-heavy and maintenance has been deferred. Upgrading then can improve efficiency and hot water recovery while avoiding repeated service calls. One realistic example: a 10-year-old gas tank with rumbling, rusty water, and a weeping seam is rarely worth a new anode and flush; a modern replacement is usually the lower-risk path.
Preventive Steps to Extend Water Heater Life
Annual attention pays off. Flushing a few gallons quarterly, or draining and flushing fully yearly, helps clear sediment before it hardens. Replacing the anode rod every few years, especially in areas with aggressive water chemistry, slows internal corrosion. Test the T&P valve by lifting its lever briefly to ensure it moves freely and reseats without dripping; replace it if it sticks or will not seal. Setting the thermostat around 120 degrees Fahrenheit balances comfort, safety, and scale control.
Address system conditions too. If you have a closed plumbing system, adding a properly sized expansion tank can stop nuisance T&P discharge by absorbing pressure swings. A simple sediment prefilter on the cold inlet can reduce mineral and grit load. For tankless models, schedule annual descaling with a pump and a manufacturer-approved solution to remove limescale from the heat exchanger, and clean inlet screens and fan intakes. Insulating nearby hot water piping trims standby losses and can help the heater cycle less often.
Small clues like new noises, lukewarm water, or a dripping discharge pipe are not just annoyances; they are usable signals about sediment, sensors, and safety components inside your water heater. By pairing symptoms with likely causes, trying only safe checks, and acting before leaks or scalding temperatures escalate, you can protect your home and budget. If a diagnosis points to gas work, internal wiring, or a failing tank shell, schedule a licensed plumber to evaluate the unit and confirm whether a targeted repair or a planned replacement is the prudent next step.
